To monitor your beer’s primary fermentation, watch for airlock bubbling, which indicates yeast activity within 12-48 hours. Check for krausen, a foamy layer on top of your brew, and take specific gravity readings every few days. Make certain your fermentation temperature stays around 70°F for ideal yeast performance. It’s important to observe these signs and record your findings for future reference. By staying attentive, you’ll enhance your brewing skills and guarantee a successful fermentation process. Keep exploring for more tips.
At a Glance
- Monitor airlock activity within the first 12-48 hours for initial signs of fermentation.
- Take specific gravity readings at 14 days and again 3-4 days later for progress assessment.
- Observe krausen formation; its clarity indicates yeast activity and sugar consumption.
- Record fermentation temperatures and any fluctuations that may affect yeast performance.
- Keep a detailed journal of specific gravity, observations, and troubleshooting steps throughout the process.
Understanding the Fermentation Process
Understanding the fermentation process is essential for successful homebrewing, especially since it directly impacts the flavor and quality of your beer.
During fermentation, yeast converts sugars from the wort into alcohol and carbon dioxide, usually starting within 12-48 hours after pitching the yeast. The fermentation temperature plays a vital role; warmer conditions at around 70°F speed up yeast activity, while cooler temperatures slow it down. Effective temperature management is crucial to prevent issues like yeast stress, which can lead to incomplete fermentations.
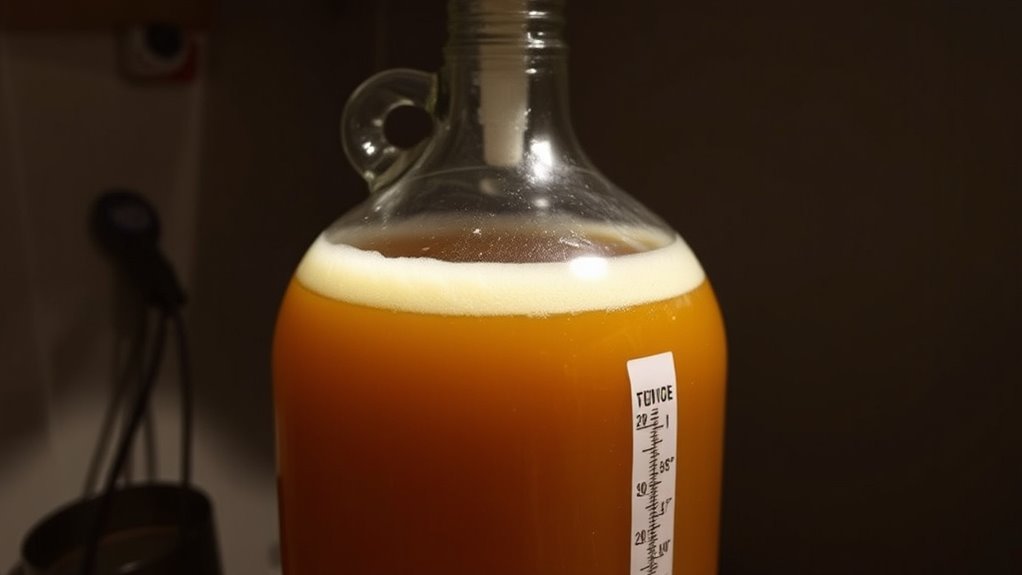
Monitoring specific gravity provides a precise measure of fermentation progress, unlike simply watching airlock activity. Observing the krausen can also indicate when fermentation is nearing completion, especially with consistent specific gravity readings.
Helpful Hints:
- Keep fermentation at consistent temperatures.
- Take specific gravity readings regularly.
- Watch for krausen and its clearing.
- Be patient; higher gravity beers take longer.
- Enjoy the brewing process!
Key Variables Affecting Fermentation
When brewing beer, several key variables can greatly influence fermentation outcomes.
First, fermentation temperature is essential; warmer conditions, around 80°F, can speed up the process, while cooler temperatures, about 55°F, slow it down.
In addition, the yeast strain you choose matters—turbo and Kveik yeasts ferment faster than traditional lager yeasts.
Additionally, sugar content in your mash will impact fermentation time; higher sugar levels can prolong it.
Finally, low ABV beers (around 4%) typically ferment quicker than high ABV options (like Russian Imperial Stouts).
Always monitor the fermentation process through airlock activity and specific gravity readings for better results. Maintaining consistent temperature control during fermentation is crucial to avoid off-flavors and yeast stress.
Visual Signs of Fermentation Activity

How can you tell if your beer fermentation is on the right track? Observing visual signs is key to monitoring fermentation effectively. Here are some indicators to look for:
- Bubbling in the airlock begins within 12-48 hours.
- Krausen formation appears as a foamy layer on top in the first few days.
- Krausen falling and clearing indicates the yeast is consuming sugars.
- Clarity alone is essential; when the wort shifts from cloudy to clearer, fermentation may be slowing.
Additionally, thorough cleaning and sanitizing of your equipment helps ensure that these visual signs lead to successful fermentation without contamination. Keep these signs in mind to guarantee your brewing process is progressing as expected.
Monitoring Fermentation Without a Hydrometer
Monitoring fermentation without a hydrometer can seem challenging, but there are effective methods to guarantee your brewing process is on track.
First, closely observe airlock activity within the first 12-48 hours; active bubbling indicates successful fermentation. If you notice no bubbles after 18-24 hours, check the fermenter’s seal and gently swirl the mash to resuspend the yeast.
Look for signs of completion, like a lack of bubbles for 48 hours or clearing krausen. If bubbling persists beyond 14 days, extend fermentation and check every few days until you see no bubbles for at least a minute. Additionally, ensure that the fermenter is properly sealed to prevent air leaks that could affect fermentation activity.
Helpful Hints:
- Keep a homebrew journal.
- Track temperature changes.
- Observe gravity visually through signs.
The Importance of Temperature Control
Temperature control plays a significant role in the fermentation process, influencing both the activity of the yeast and the final flavor of your beer.
To achieve ideal results, consider these helpful hints:
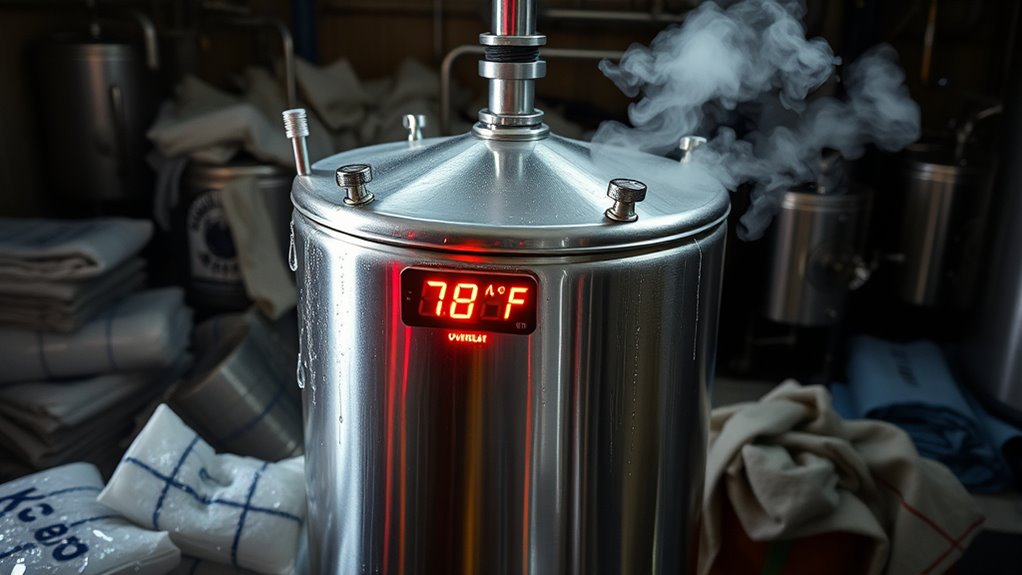
- Maintain fermentation temperatures around 70°F for ales and 55-65°F for lagers.
- Avoid exceeding 90°F, as higher temps can produce unwanted esters and fusel alcohols.
- Prevent rapid temperature swings to reduce yeast stress and off-flavors.
- Choose appropriate yeast strains, like Kveik, that thrive at higher temperatures for innovative brewing.
Moreover, understanding step mashing temperatures can further enhance your brewing process by optimizing the production of fermentable sugars.
Effective temperature control guarantees your beer’s characteristics align with the desired style, enhancing overall quality and flavor.
Using Gravity Readings for Accurate Monitoring
Accurate monitoring of fermentation is essential for producing high-quality beer, and using gravity readings can provide valuable insights into the process.
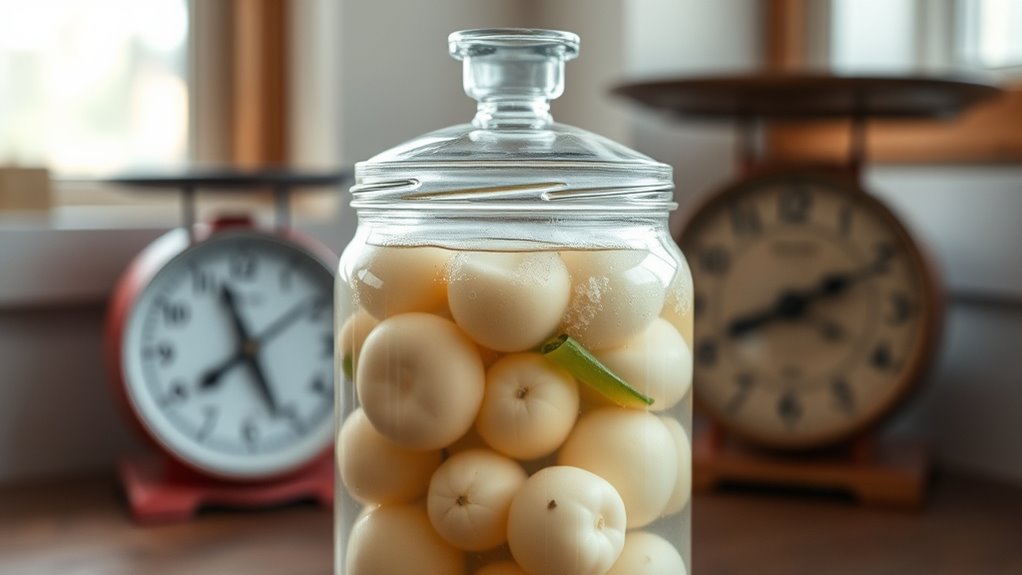
By taking specific gravity readings with a hydrometer at 14 days, followed by another reading 3 to 4 days later, you can confirm fermentation completion. If the readings remain stable, fermentation is likely finished.
Use the original gravity (OG) to calculate the final gravity (FG) and the resulting alcohol by volume (ABV). This process involves measuring specific gravity before and after fermentation to determine the alcohol content accurately.
Relying solely on airlock bubbling can be misleading, so always prioritize actual gravity measurements for more reliable results in your brewing journey.
Troubleshooting Common Fermentation Issues
Troubleshooting common fermentation issues is essential for guaranteeing a successful brewing process. Here are some helpful hints to guide you:
Troubleshooting fermentation issues is crucial for a successful brewing experience; here are essential tips to assist you.
- If no airlock activity appears after 18-24 hours, check the seal, gently swirl the mash, and maintain a temperature around 70°F for ideal yeast activity.
- Gravity stalls may indicate unhealthy yeast; consider adding a new yeast starter if fermentation doesn’t resume in 12-48 hours.
- Avoid rapid temperature fluctuations to maintain fermentation quality.
- If fermentation exceeds 21 days with no signs of activity, take specific gravity readings to evaluate progress. Additionally, ensure proper wort aeration to support yeast metabolism during the fermentation process.
These steps guarantee your fermentation runs smoothly and efficiently.
Equipment and Tools for Effective Monitoring
When you’re brewing beer, having the right equipment and tools for effective monitoring can greatly influence your fermentation process.
A brewing hydrometer is essential for measuring specific gravity, allowing you to track sugar content accurately. Consider using digital density meters for enhanced precision in density measurements. One popular option is to explore the best hydrometer products that suit your brewing needs.
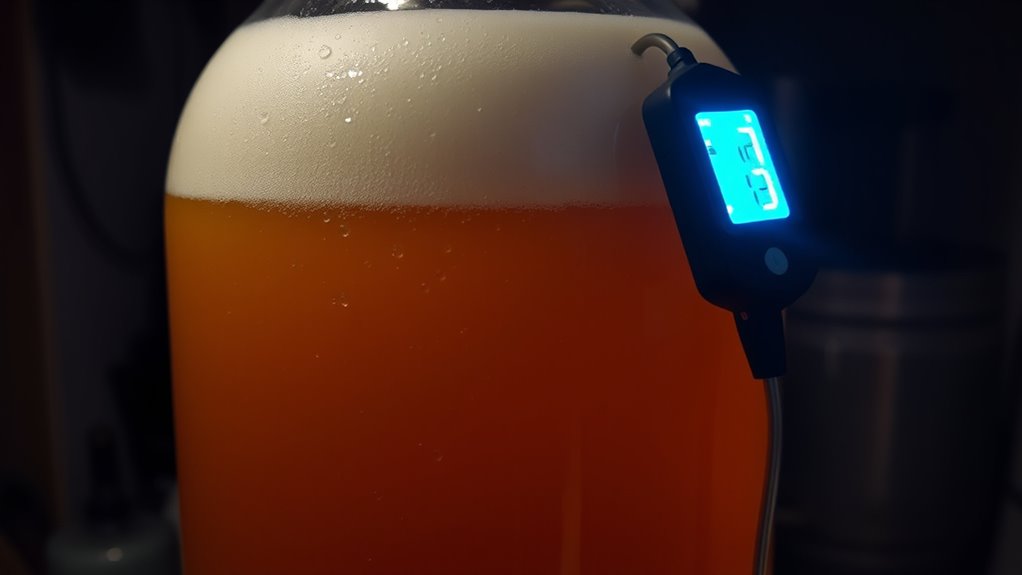
If you’re using closed fermenters, sample valves enable hygienic off-line analyses, ensuring cleanliness. Don’t forget temperature control equipment, like fermentation temperature controllers, to maintain ideal conditions and prevent off-flavors.
Keeping a homebrew journal helps you document recipes and observations, which fosters consistency in your future brews.
Helpful Hints:
- Invest in quality brewing equipment.
- Regularly calibrate your hydrometer.
Documenting Your Fermentation Journey
Documenting your fermentation journey is essential for understanding the brewing process and improving future batches. To effectively track your progress, consider these helpful hints:
- Keep a detailed journal logging specific gravity readings before and during fermentation.
- Record fermentation temperatures, noting any fluctuations that might affect yeast performance.
- Document the type of yeast used, including strain and its characteristics, as this influences flavor and fermentation timeline.
- Note any observations, like airlock activity or krausen development, along with troubleshooting steps taken, for valuable insights in future brewing attempts. Additionally, understanding the ABV calculation formula can help you estimate the alcohol content of your brew based on gravity readings.
This structured approach will enhance your brewing skills over time.
Best Practices for Successful Homebrewing
Successful homebrewing requires attention to detail and adherence to best practices throughout the fermentation process.
- Monitor Airlock Activity: Check for bubbling within the first 12-48 hours. Active bubbles indicate fermentation is underway.
- Gravity Readings: Take specific gravity readings at 14 days, then again 3-4 days later, ensuring stable measurements confirm fermentation completion.
- Temperature Control: Keep fermentation around 70°F to optimize yeast performance and avoid off-flavors.
- Visible Signs: Look for krausen clearing and a lack of bubbling to determine when fermentation has likely finished.
- Homebrew Journal: Track conditions, gravity readings, and yeast behavior to improve future batches. Additionally, maintaining yeast viability and purity is crucial for achieving consistent fermentation results.


3 comments
Comments are closed.