Proper beer bottling matters because it affects the quality, flavor, and carbonation of your brew. You need to bottle within 7 to 14 days after fermentation, ensuring final gravity is stable to avoid issues like over-carbonation. Using sanitized equipment, such as bottles and caps, prevents contamination. Choose brown bottles for UV protection. Properly sealing and storing your beer enhances its flavor. Following these practices leads to a better drinking experience, and you can discover more techniques to improve your brewing process.
At a Glance
- Proper bottling timing ensures optimal carbonation and flavor development, enhancing the overall quality of the beer.
- Effective sanitization during bottling prevents contamination, safeguarding the beer’s taste and quality.
- Using the right bottles protects beer from UV light, preserving flavor and preventing spoilage.
- Consistent monitoring of carbonation levels prevents issues like over-carbonation or flat beer, ensuring a pleasant drinking experience.
- Proper storage conditions maintain beer freshness and enhance the flavor profile, contributing to a superior drinking experience.
The Importance of Timing in Bottling
When you’re ready to bottle your beer, timing is everything. Proper bottling occurs after fermentation, typically 7 to 14 days, ensuring it’s complete.
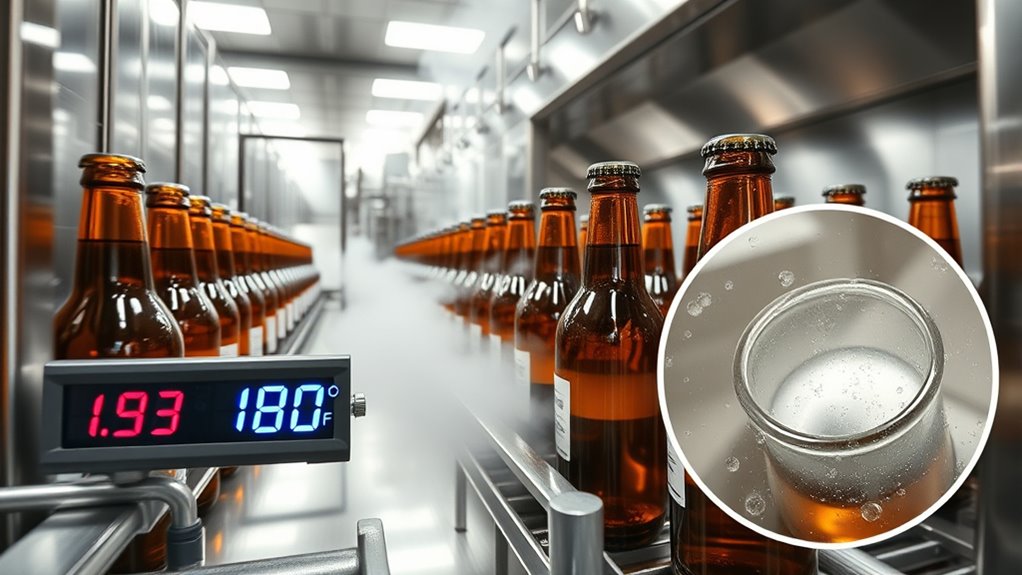
You’ll want to check the final gravity using a hydrometer or refractometer; this step prevents over-carbonation or creating flat beer. Look for visual cues like slowed bubbles in the airlock to signal fermentation’s end.
After two weeks, open a bottle to assess carbonation and taste, confirming that the beer has properly conditioned. Remember, continuous testing every few days is essential for achieving your desired carbonation level. Monitoring specific gravity is crucial for determining fermentation progress.
Helpful Hints:
- Always monitor final gravity.
- Test carbonation regularly.
Essential Supplies for Effective Bottling
Bottling your beer successfully requires a few essential supplies that streamline the process and minimize potential issues. Start with 12 oz. glass beer bottles—approximately 12 per gallon of beer—along with bottle caps and a reliable bottle capper.
Successful beer bottling starts with essential supplies: 12 oz. bottles, caps, and a dependable capper.
For carbonation, don’t forget priming sugar tablets. An auto-siphon and food-grade vinyl tubing efficiently transfer beer from the fermentation vessel to the bottles, reducing oxidation risks.
A bottling bucket and a bottling wand help fill bottles accurately, preventing excessive foaming.
Finally, focus on cleaning and sanitizing; thoroughly rinse saved beer bottles before sanitizing to guarantee quality and taste in your final product. Investing in a good bottle capper can greatly enhance your bottling experience.
The Role of Sanitization in Beer Quality
Sanitization plays a critical role in ensuring the quality of your beer, as it directly affects the final flavor and safety of your brew. To prevent contamination during the brewing process, it’s essential to use sanitized bottle caps, bottles, and tubing.
Start with clean bottles, rinsing them thoroughly before sanitization to eliminate any residues. Use a no-rinse brewing sanitizer mixed at 1 oz. per 5 gallons of water, fully submerging items for at least 60 seconds. This method minimizes the risk of wild yeast and bacteria, ensuring your beer maintains its intended flavor when you bottle your beer. Additionally, soaking bottle caps in sanitizer for 1-5 minutes prevents contamination while preserving their sealing effectiveness.
Helpful Hints:
- Always check for visible dirt before sanitizing.
- Regularly sanitize your work surfaces.
- Follow sanitizer instructions for best results.
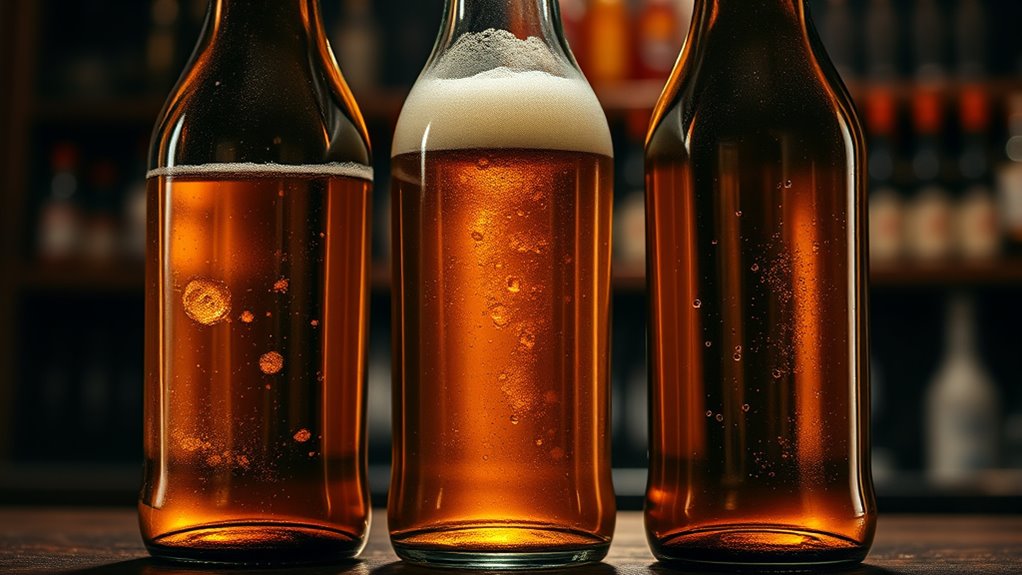
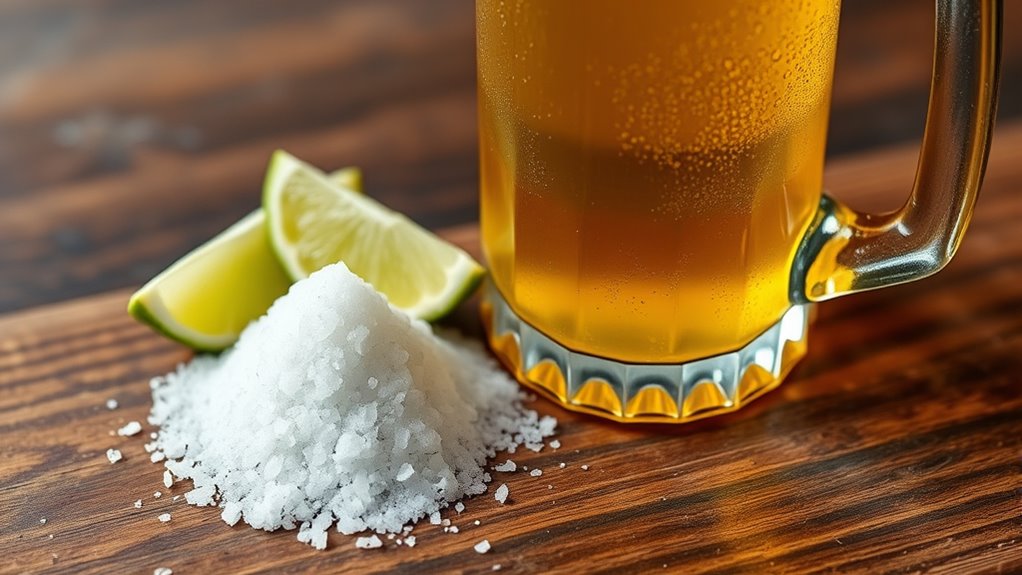
Choosing the Right Bottles for Your Brew
Choosing the right bottles for your brew is essential, as it can greatly influence your beer’s flavor and longevity.
Brown bottles provide the best protection against UV light, reducing the risk of skunking, particularly for light-sensitive beers. In contrast, clear and green bottles allow more light penetration, which can spoil styles like American Lager and Pilsners within minutes.
Brown bottles shield your beer from UV light, preventing skunking and preserving the integrity of light-sensitive styles like American Lager and Pilsners.
While cans offer complete opacity, enhancing freshness, consider the beer type when selecting bottles. Proper storage, such as keeping bottles in dark environments, further enhances beer longevity and taste, regardless of bottle color. Additionally, investing in the best bottle rinsers can help maintain cleanliness and prevent contamination during the bottling process.
Helpful Hints:
- Opt for brown bottles for most beers.
- Store bottles away from light.
Step-by-Step Bottling Process
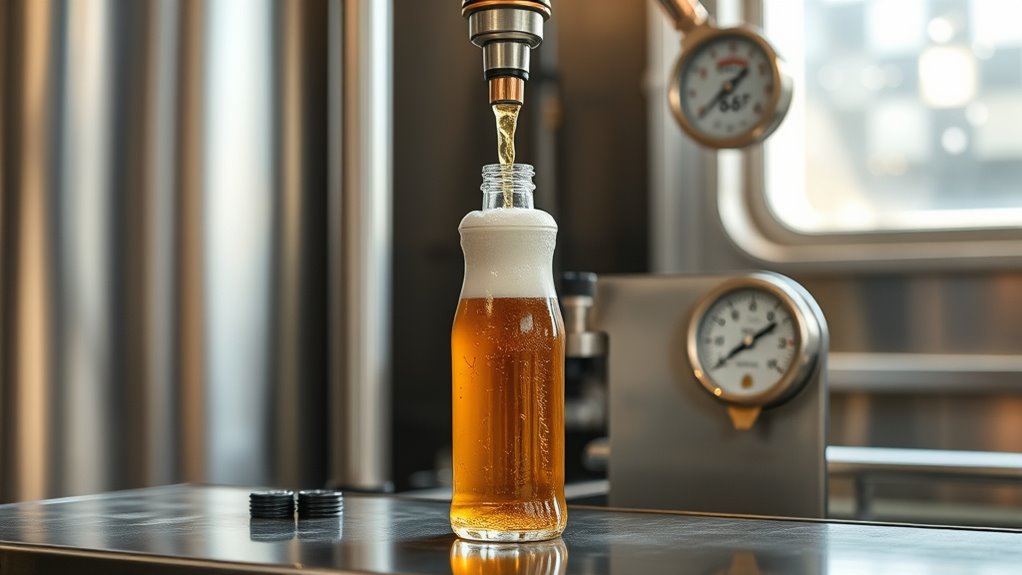
When you’re ready to bottle your homebrew, it’s essential to follow a systematic approach to guarantee a successful outcome.
First, clean and sanitize all equipment, including bottles and bottle caps.
Next, use an auto-siphon or sanitized tubing to transfer your beer, filling each bottle to an inch from the top.
Before sealing, add priming sugar to promote carbonation.
Securely cap each bottle with sanitized caps to prevent oxygen exposure.
Finally, store your bottled beer in a cool, dark place for bottle conditioning.
It’s crucial to ensure that your bottles are free from any residual organic material to avoid contamination.
Monitor carbonation levels periodically, ensuring your brew develops the perfect fizz before enjoying it.
Understanding Priming Sugar and Carbonation
Understanding priming sugar and carbonation is essential for achieving the desired effervescence in your homebrew.
Priming sugar, like dextrose or corn sugar, is added before bottling to initiate carbonation as yeast consumes the sugar, producing carbon dioxide.
Accurate measurement of your beer’s final gravity helps you determine how much priming sugar to use—typically 3/4 to 1 cup per 5 gallons, depending on desired carbonation levels.
Accurate final gravity measurement is key to determining the right amount of priming sugar for perfect carbonation.
Always dissolve the priming sugar in boiling water, cool it, and mix it evenly with the beer.
After bottling, allow 1-3 weeks at room temperature for carbonation to develop before chilling and enjoying your brew. This natural carbonation process can yield finer, more integrated carbonation and potentially enhance the overall flavor profile of your beer.
Best Practices for Cap Sealing and Storage
After you’ve added priming sugar and filled your bottles, the next step is capping them securely to guarantee proper carbonation and maintain flavor.
Use sanitized caps and a reliable bottle capper for effective cap sealing; this prevents oxygen exposure, which can spoil your beer. Cap each bottle immediately after filling to minimize contamination.
Store the capped bottles in a cool, dark place to enhance carbonation and protect against light exposure. Once your beer reaches the desired carbonation level, refrigerate it for peak taste. Additionally, using sanitized products can further reduce the risk of contamination during the bottling process.
Helpful Hints:
- Always check seal integrity.
- Regularly monitor carbonation levels.
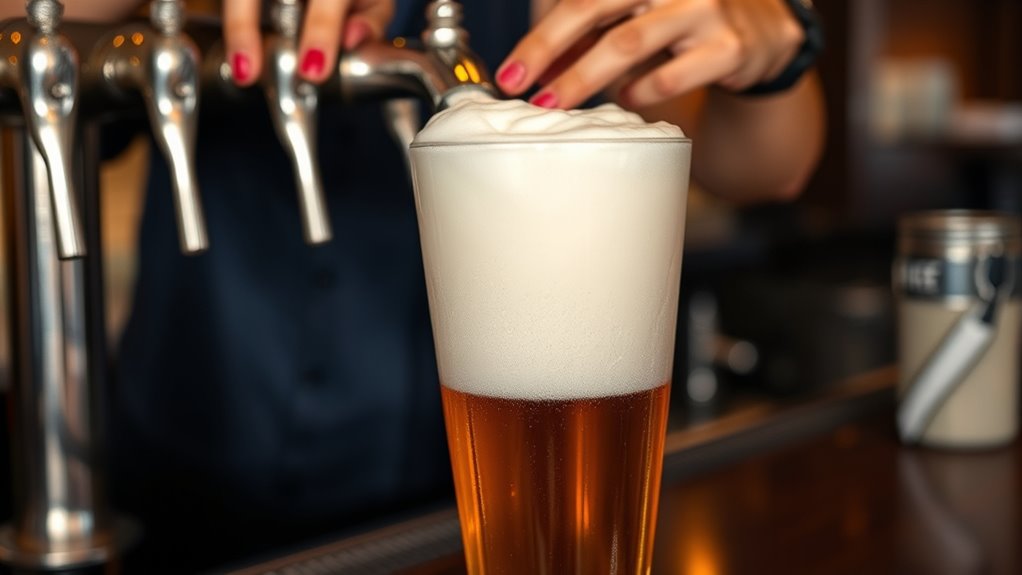
Monitoring and Enjoying Your Finished Beer
Monitoring your finished beer is essential for ensuring quality and maximizing enjoyment. Start by checking your bottles after two weeks; listen for the hiss of carbonation when opening. This sound indicates that your beer has carbonated properly.
Measure the final gravity before bottling to confirm fermentation is complete and avoid over-carbonation. Consistently monitor carbonation levels every few days to achieve your desired fizziness and taste. Additionally, ensure that all your equipment is properly sanitized to prevent any unwanted contamination that could affect the flavor—sanitizing brewing equipment is vital for success.
Once you’re satisfied, refrigerate your bottles to maintain quality. Enjoying your brew at its peak requires attention to these details, enhancing both the flavor and overall drinking experience.
Helpful Hints:
- Check carbonation levels regularly.
- Refrigerate for best taste.
1 comment
Comments are closed.