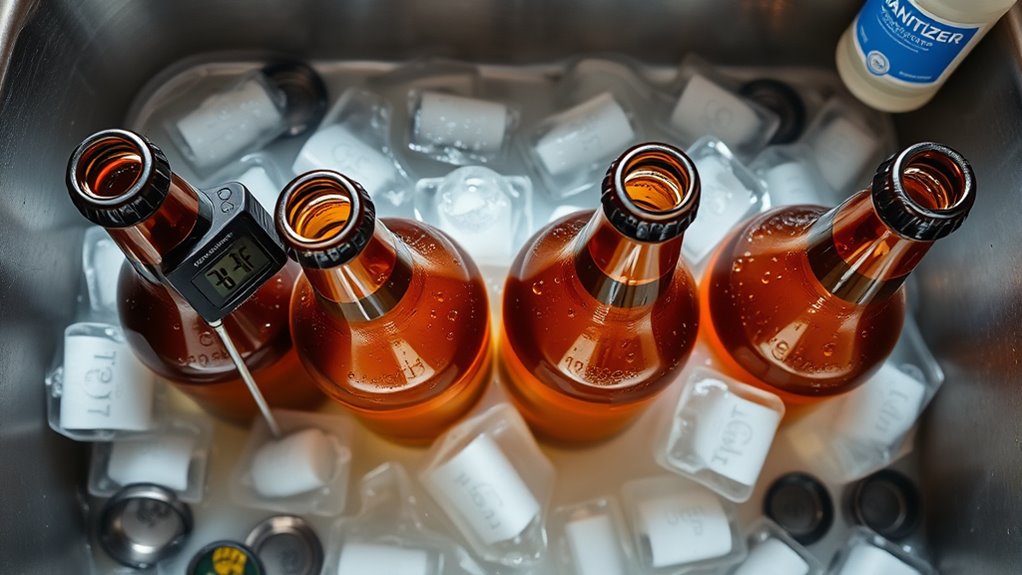
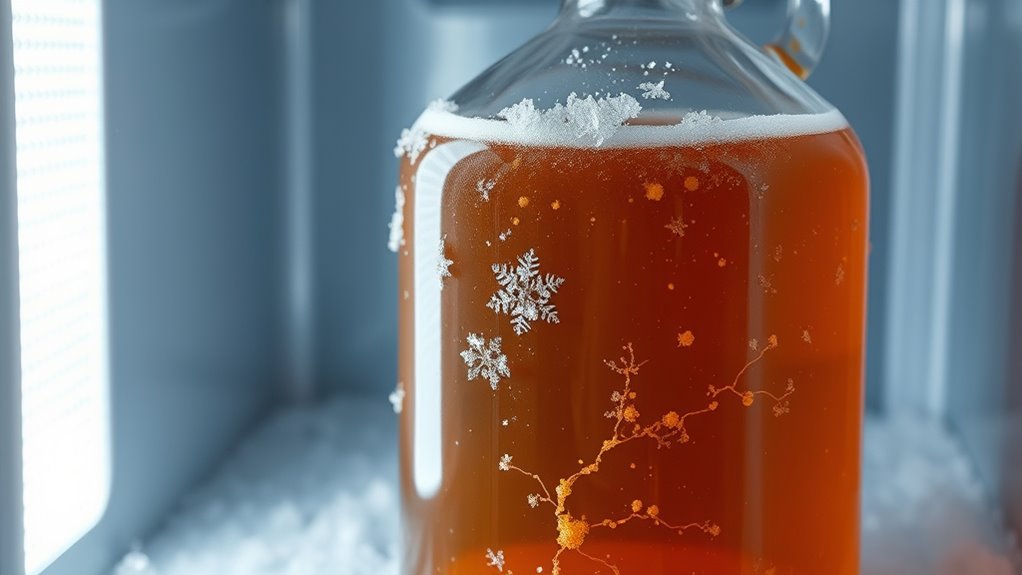
Cold conditioning, or lagering, is an essential step before bottling homebrew, where you chill your beer to 35-40°F (2-4°C) for up to six weeks. This process helps clarify the beer and improves flavor by settling yeast and proteins. It also removes unwanted compounds, enhancing stability and quality. For best results, complete fermentation first, then cold crash for 2-3 days, especially after dry hopping. Following these steps can lead to a cleaner, crisper brew, and there’s more to explore on this topic.
At a Glance
- Cold conditioning, or lagering, improves beer quality by lowering the temperature to 35-40°F for 4-6 weeks.
- This process settles yeast and proteins, enhancing clarity and flavor stability in the final brew.
- Cold crashing before bottling helps eliminate undesirable compounds, resulting in a cleaner taste and visual appeal.
- It is essential to complete fermentation before starting cold conditioning to ensure optimal results.
- Siphoning from above the trub during bottling prevents sediment contamination, maintaining the beer’s quality.
Understanding Cold Conditioning
When you’re brewing your own beer, it’s essential to know that cold conditioning, often referred to as lagering, plays a significant role in enhancing your beer’s quality.
This process involves lowering the temperature post-fermentation to around 35-40°F (2-4°C) for 4-6 weeks. During cold conditioning, yeast and proteins settle out, helping to clarify your beer and improve its flavor stability.
Lowering the temperature post-fermentation for 4-6 weeks helps clarify your beer and enhances flavor stability.
It’s particularly useful for lagers and certain ales, as it removes undesirable compounds like diacetyl. To achieve optimal results, ascertain fermentation is complete before starting this critical step.
Helpful Hints
- Use a temperature-controlled fridge.
- Start cold conditioning 2-3 days before bottling.
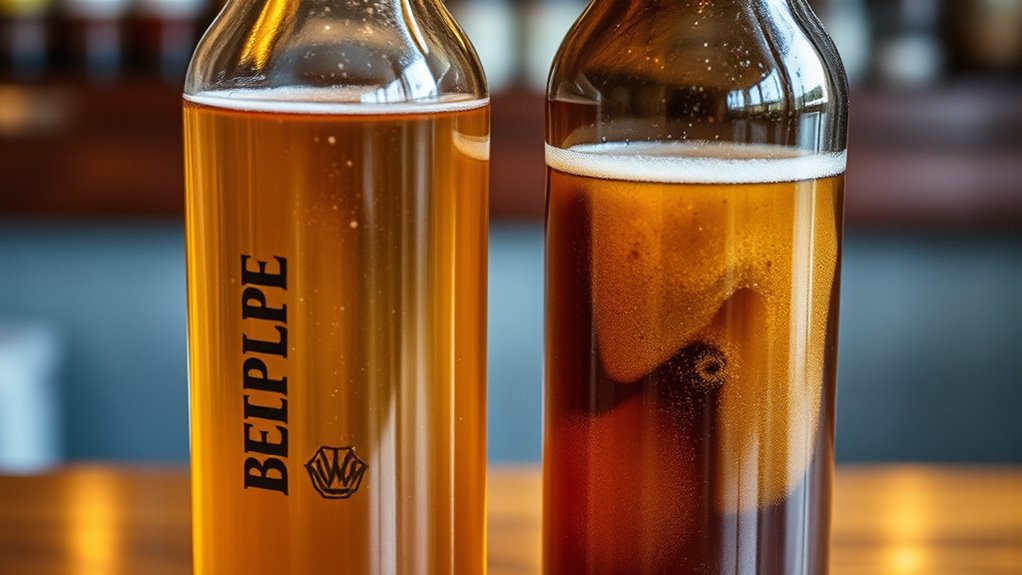
The Benefits of Cold Crashing
Cold crashing offers a simple yet effective method to enhance your homebrew‘s clarity and overall quality. This technique, involving lower temperatures in a temperature-controlled environment, helps settle unwanted particulates, resulting in a cleaner brew.
- Achieve improved clarity without relying solely on fining agents.
- Create a visually appealing finish for competitive brewing.
- Enhance the crispness of your beer.
- Utilize extended cold crashing for ideal results.
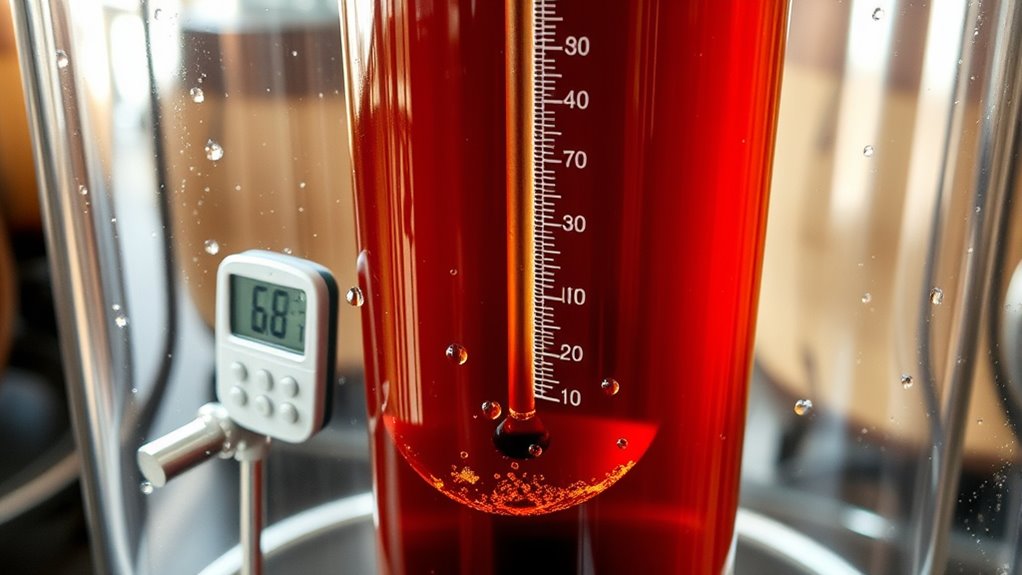
Ideal Temperature and Timing for Cold Conditioning
To achieve the best results in cold conditioning your homebrew, it’s crucial to focus on both the ideal temperature and timing.
The ideal temperature for cold conditioning is between 35-40°F (2-4°C), which helps unwanted particles settle effectively. Typically, you should cold condition for 2-3 days before bottle conditioning to enhance clarity.
The optimal cold conditioning temperature is 35-40°F (2-4°C), lasting 2-3 days for improved clarity.
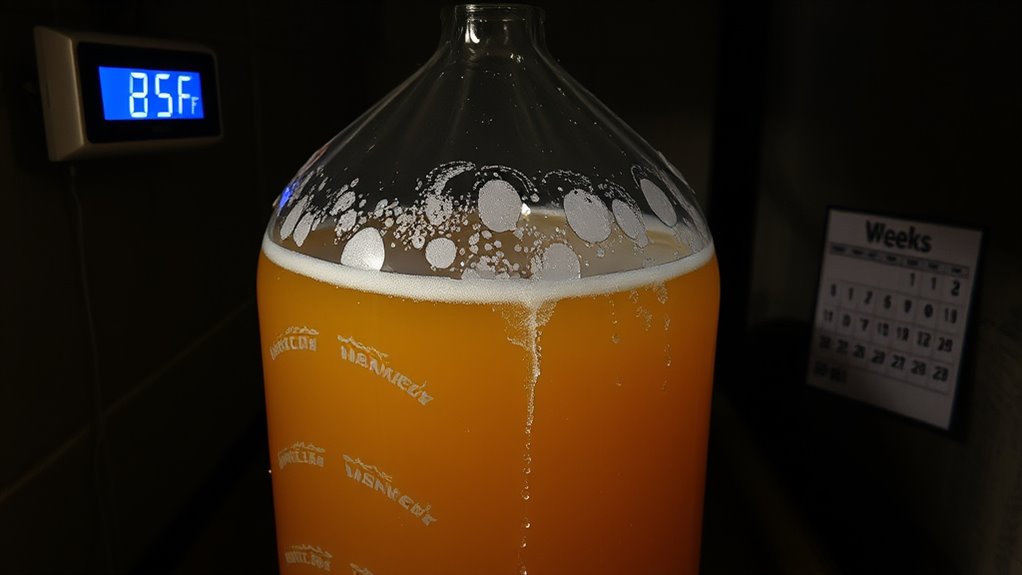
However, if you’ve dry-hopped, allow an additional 7-10 days for the hop flavors to develop fully before starting the cold conditioning process.
A temperature-controlled fridge is ideal for maintaining these low temperatures consistently, ensuring your process of beer reaches its full potential.
Helpful Hints:
- Use a fridge for consistency.
- Monitor temperature closely.
- Plan dry hopping in advance.
Techniques for Cold Crashing Without a Fridge
If you lack a dedicated fridge for cold crashing your homebrew, there are still effective methods to lower your beer’s temperature. Consider these techniques:
- Wrap your fermenter in a wet towel and place it in a water bath with ice.
- Use a cooler with ice packs around the fermenter for a 10-15 degree temperature drop.
- Allow cold crashing for 2-3 days to enhance clarity by settling yeast and solids.
- Be aware that cold crashing without a fridge may reduce yeast activity, potentially extending bottle conditioning time.
These methods can markedly improve your beer’s clarity without specialized equipment.
Using Fining Agents to Enhance Clarity
When you want to improve your homebrew’s clarity, using fining agents can be a game changer. Fining agents like Irish moss or whirlfloc, added during the last five minutes of the boil, bind with proteins, helping them settle out.
Alternatively, Super-Kleer can clarify beer in the secondary fermenter without cold crashing. Combining cold crashing for 2-3 days with fining agents greatly enhances clarity, making your beer visually appealing, especially for competitions. Proper sanitization methods before this process are crucial to ensure that no unwanted microbes interfere with the final product.
Always allow 2-3 days after adding fining agents before bottling to guarantee the best clarity possible.
Helpful Hints:
- Experiment with different fining agents.
- Monitor temperature during cold crashing.
Best Practices for Bottling After Cold Conditioning
Here are some key tips:
- Siphon from above the trub to prevent sediment contamination.
- Use a temperature-controlled environment during cold conditioning for ideal clarity.
- Allow 2-3 days for fining agents to work with cold conditioning, enhancing clarity.
- Complete dry hopping 7-10 days prior to cold crashing for better flavor without sacrificing clarity.
- Ensure thorough cleaning of fermentation vessels before bottling to eliminate residual microorganisms that could affect the quality of your beer.
Implementing these practices guarantees your beer is clear, flavorful, and ready for bottling, maximizing the quality of your homebrew.
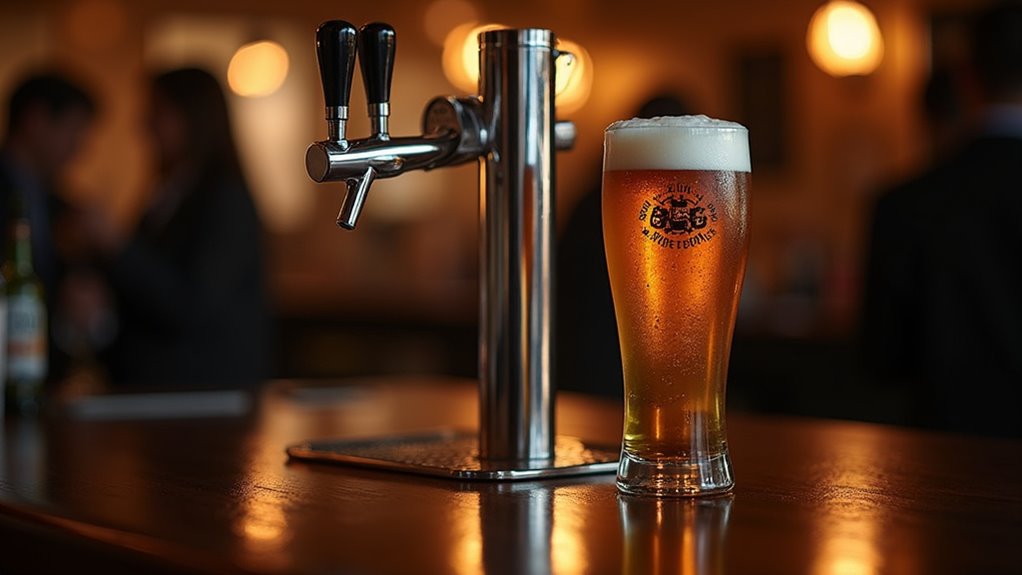
Kegging vs. Bottling: Which Is Better?
Deciding between kegging and bottling your homebrew can be a significant choice for any brewer.
Kegging offers quicker carbonation, eliminating the need for priming sugar and lengthy waiting periods. You can serve your beer immediately after carbonation, enhancing its freshness and clarity.
On the other hand, bottling provides portability and individual servings, making it ideal for sharing at events.
While kegging requires more initial investment in equipment, it can save time in the long run. Additionally, purchasing supplies from the best online store for keg essentials can streamline your kegging process.
Ultimately, consider your brewing style and needs—kegging suits larger gatherings, while bottling caters to personal enjoyment and convenience.
Helpful Hints:
- Evaluate your brewing frequency.
- Consider serving size preferences.
- Weigh the cost of equipment against convenience.
Common Mistakes to Avoid During Cold Conditioning
Cold conditioning is a crucial step in the homebrewing process, yet many brewers make mistakes that can affect the quality of their beer.
Here are common pitfalls to avoid:
- Cold crashing too early can leave off-flavors from yeast activity.
- Skipping the cold crashing period results in a hazy beer.
- Excessive agitation during cold crashing disturbs settled trub.
- Inconsistent temperature control can stress yeast.
To guarantee success, wait for fermentation to complete, allow 2-3 days at 35-40°F, and practice proper siphoning above the trub line. Maintaining a stable temperature during this process is essential to prevent yeast stress and achieve a clearer, more refined brew.